

Ever dreamt of getting a tattoo but do not like the idea of needles coming in and out of your skin? Or maybe, you simply can’t have tattoos because of the industry that you’re in? Fortunately, you can make a temporary tattoo or fake tattoo nowadays. And it doesn’t cause so much pain, doesn’t cost as expensive as the real ones, and most importantly, it doesn’t last a lifetime.
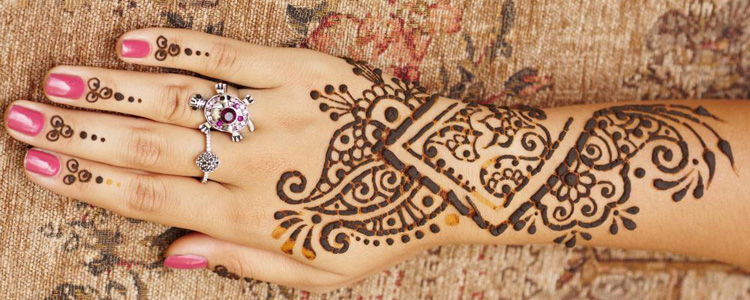
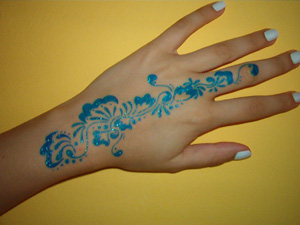
You’ve seen temporary tattoos being offered and executed at the beach. Yes, they are also the so-called henna tattoos and you can pick from a wide variety of designs available out there. However, did you also know that you can actually make one on your own? As a kid, you might have tried those sticker tattoos stuck up on your skin and you can do the same now.
To give you some ideas on how to make temporary tattoos, read them below.
The initial step is to think of the design that you would like to have. It could be tribal art, dragons, butterflies, skulls, flora and fauna, etc. But do not underestimate this part because it’s really hard to decide on which design you want to apply, because you have to take some factors into consideration.
For example, you want a small butterfly tattoo but do you know where you should place it? If yes, good for you then! If not, consider this advice by professionals that butterflies are best placed on the shoulder blade, neck, beneath the groin, lower back and lower hip. Keep in mind though that each placement has a certain meaning.
If you decide to put a butterfly tattoo on your back, it means freedom; that you are a free-spirited individual. You should also take getting temporary tattoos quite seriously because it’s an art somehow. You are going to want your fake tat to help you express a deeper part of your personality, so it is important to apply it carefully and accurately on your skin.
Another reminder is to clean that part of your body where the tattoo will be applied. You can clean it with soap and an isopropyl alcohol, and use a cotton ball for it. Make sure that there is no oily part in your skin because its presence may affect the longevity of the tattoo negatively.
By now, you should have a good understanding of how temporary tattoos must be prepared before the actual application. So read on to learn about the different ways of applying your tattoo design onto the body.

First draw the design on a tracing paper using a pencil, after which you can now color it using the dark-colored gel pen. If you can’t draw like pro, better find a design online that is available in coloring version so you can just color it up with your gel pen after printing it.
Second step is to place the colored tracing paper on the body part that you prefer decorating with that tattoo design. You must then get a damp cloth and press it on the tracing paper as firm as you can for half a minute. When the time is up, remove the tracing paper slowly and check if it ended up transferring the ink to your skin successfully. If it doesn’t, let it sit for a few more seconds and then check again.
If all went well, it’s time now to remove the paper and the cloth. Let your temporary tattoo dry for as long as you know it’s okay to be left alone already. Make sure to not scratch it or brush it as you take a bath.

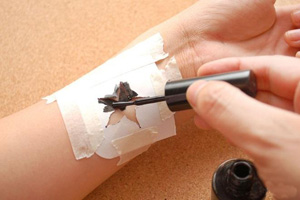
This method may sound odd but nail polish is made with strong inks that it can stick to the skin for longer periods unless you’ve washed it out with water. Nail polish as ink is good for making tribal art tattoos. Before anything else, prepare a pen, pair of scissors, paper, and nail polish with assorted colors (or any color of your choice for that matter). So to start, draw the tattoo design on your paper. You may opt to cut the design out from the rest of the paper so you can apply it easily later on.
Take note that if you wish to use two or more colors, create a couple of draft copies as well. And then, cut out certain parts of the design that you wish to apply just one color. Apparently, you can do the same thing for the second color so you can have a dedicated stencil for each colored design.
Begin placing the first stencil on your skin and color it using the nail polish. Let it dry for a few minutes before you can follow it up with the succeeding stencils. Repeat this process as you complete your tattoo design. Finally, let everything sit for a few minutes until the nail polish has dried out.

This is considered the easiest method above the rest, according to tattoo artists and enthusiasts so don’t fret. Eyeliner temporary tattoo is commonly executed for prepping up your skin for overnight parties, a stage play, or you’re simply curious about skin art.
So, for this one, you will need to prepare the following materials:
Draw your design on the paper and make a stencil afterward. Put the stencil on your desired body part and then trace the outline of the design using the eyeliner. You can add some special details as you want. Once the outline of the design has been set, begin coloring it with your eyeliner and do not forget to use the cotton swab(s) to mix the colors accordingly. Apply the coating over the tattoo using the hairspray. This serves as a sealant that can protect your tattoo from potential smudges. Wear the tattoo for some time and then remove it as you will.
While temporary tattoos are a good preparatory stage before getting the real deal, be wary of the potential allergic reactions that you can get from using the chemicals that you put on your skin. Products like permanent marker, gel pen, and nail polish may cause skin irritation for they are not designed for making temporary tattoos.
To avoid such an unfortunate consequence from happening, buy products that have been proven hypoallergenic and do not contain toxic chemicals. If anything bad happened to your skin, consult your doctor as soon as possible.


